With four littles in our home, our refrigerator was not big enough to hold all of the artwork and handwriting papers. I needed a way to showcase and organize the learning our children were doing during preschool time.
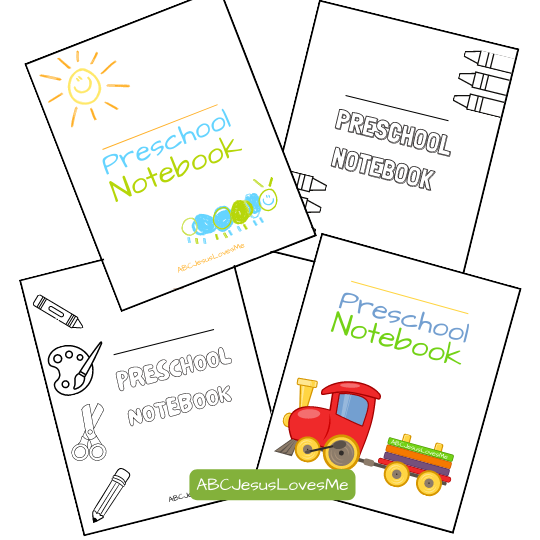
The idea of a Preschool Notebook, Portfolio, or Journal came from Dina on the ABCJesusLovesMe Facebook Group. It's a way to keep current worksheets and calendars accessible, combine all of the activities that the child has done throughout the curriculum, and see progress along the way.

3 Ring Binder - 1 1/2 to 3" binder depending on the number of papers you will inserting in binder.
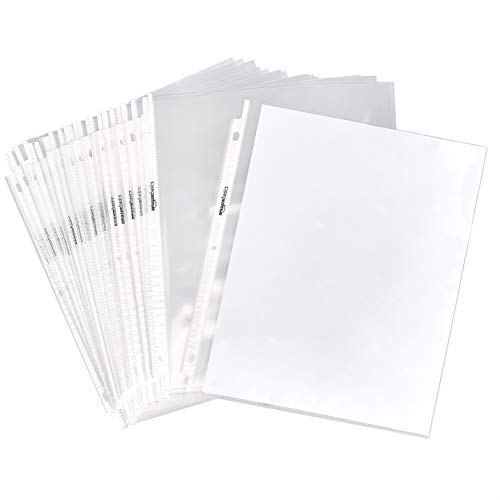
With sheet protectors you can quickly slip in pages that you want to use again or don't hole punch easily.

A paper hole punch makes it easy to add pages to the folder that aren't already hole-punched.
Available in both large and small formats, the Be Intentional Planner is designed to help you live with purpose as the woman God has called you to be. Whether you prefer a spacious layout or a compact size for on-the-go planning, each spiral-bound planner is filled with the beloved Be Intentional components to keep your goals and plans on track.
Print one of the Preschool Notebook Covers and add the child's name to decorate the folder.
A preschool notebook of activities can be a simple but powerful tool to help a teacher or parents see what a child is learning over time. Instead of guessing progress, you have real examples in front of you.
Here are practical ways to use a notebook well:
1. Keep work samples in order
Place activities in the notebook as they are completed. Over time, you can clearly see growth—such as improvements in drawing, coloring, and letter formation.
One simple system is to place the child's Activity Book in a binder. Except for the colored sheets, the activity sheets are in order of use. As each worksheet is finished, move it to the back of the folder to create a record of progress. Another option is to organize completed work by category, such as art, handwriting, or fine motor activities, making it easy to review specific skill areas.
2. Dates
Write the date on each page. This helps you notice how quickly a child is progressing and identify areas that may need more time or support.
3. Add quick notes
Jot down simple observations such as:
These short notes give valuable context that an activity sheet alone cannot show. You may also include a monthly calendar to jot notes if you are looking for a pattern.
4. Use it for assessment checkpoints
Flip through the notebook during assessment times to confirm skills. Instead of relying on memory, you can point to specific examples of what the child can do.
5. Watch for patterns
Look for repeated struggles or strengths. If a child consistently has difficulty with cutting or tracing, you know to provide more targeted practice.
6. Guide small group and one-on-one time
Use the notebook to decide what to work on during centers or individual time. It helps you be intentional instead of guessing what a child needs next.
7. Share with parents
The notebook becomes a clear way to show growth. Collect samples of the child's ability to write her name, draw a self-portrait, use scissors, etc. Parents can see real progress over time, making conversations more meaningful and encouraging.
8. Celebrate progress with the child
Flip back through earlier pages with the child and point out growth. This builds confidence and helps the child see that effort leads to improvement.