Explore simple, hands-on ideas to help a child learn about the weather while having fun and staying engaged. These activities introduce concepts like sun, rain, wind, and clouds in ways that are easy for a child to understand and enjoy.
Place items like a coat, hat, sunglasses, boots, and an umbrella in a basket. Describe a type of weather and allow the child to choose the clothing that would help in that weather.
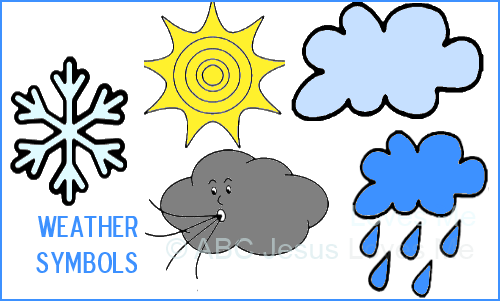
Make your own weather chart using a Big Print Wall Calendar and printing the weather clipart.
You can also purchase weather charts.
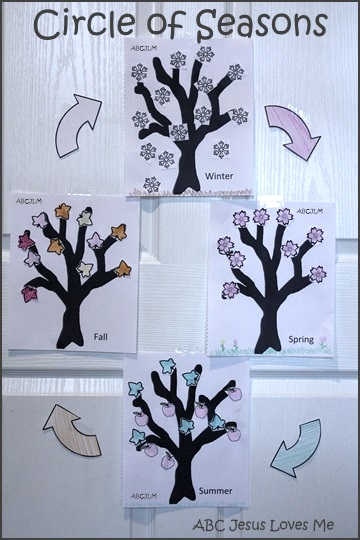
For Family or Current License Use: Using the Four Seasons printables, create a fun visual by placing a tree in the center of a circle on the wall. Around the tree, add pictures representing each season. Attach arrows to show how the seasons change. You can also include names or pictures of people who have birthdays during each season.
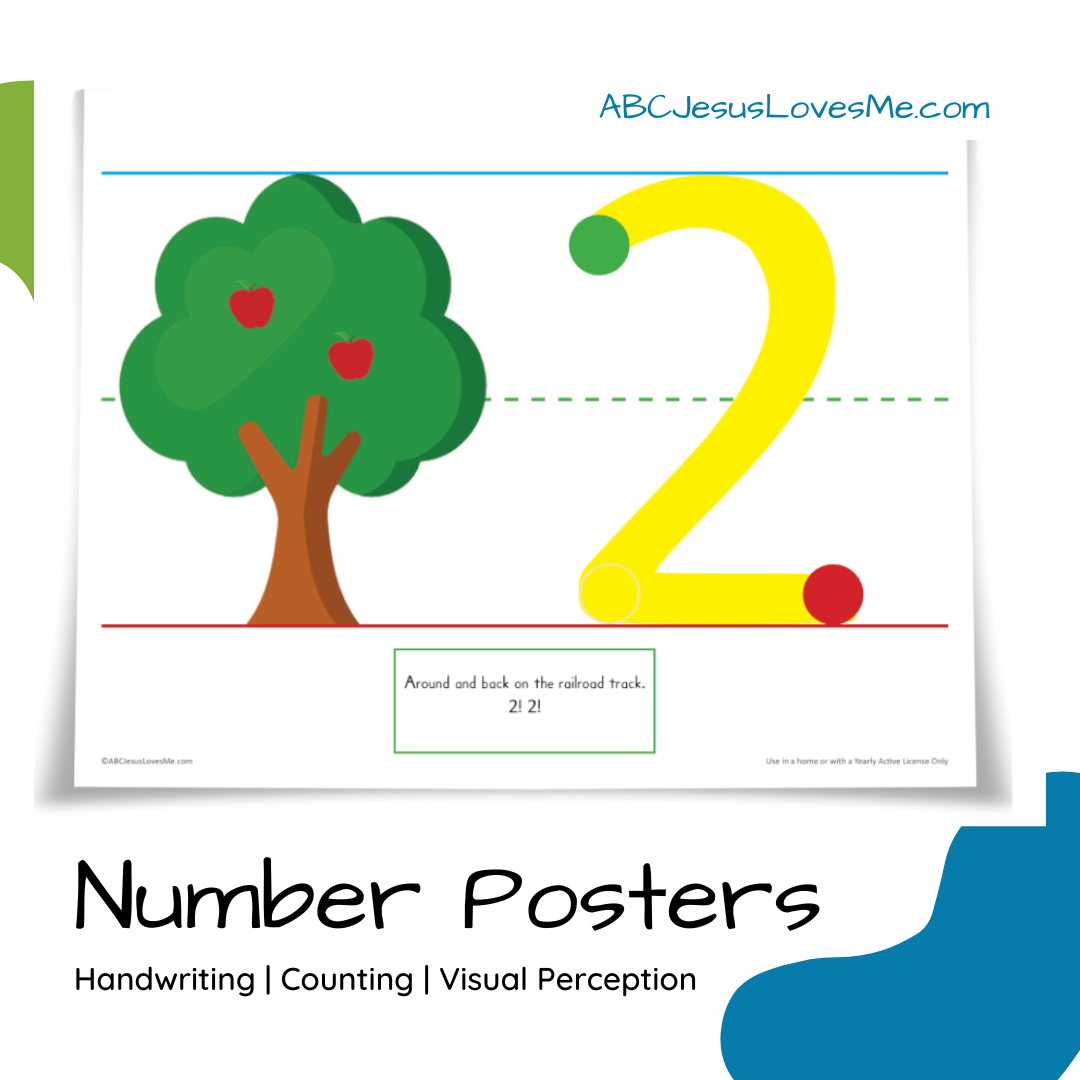
Help your little ones master early numeracy skills with our vibrant Number Posters, featuring numbers 0-10, fun rhymes, and interactive counting with apples. Ideal for both classrooms and homes, these posters turn learning numbers into an exciting and engaging experience!
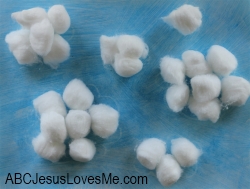
Glue cotton balls on a piece of blue construction paper to form different sized clouds.

With a white crayon firmly draw clouds on a piece of paper. Using diluted blue paint, have the child paint the entire piece of paper to find the clouds. Count the clouds that are discovered.
Lie on a blanket outside and look up at the clouds together. Encourage the child to describe what the clouds look like and talk about how clouds move across the sky.
Cut out 2 or 3 different sized clouds. Sort them into piles by size.
Spread shaving cream on blue paper or in a shallow pan. You may add blue food coloring. Let the child swirl it to create fluffy clouds.
Available in both large and small formats, the Be Intentional Planner is designed to help you live with purpose as the woman God has called you to be. Whether you prefer a spacious layout or a compact size for on-the-go planning, each spiral-bound planner is filled with the beloved Be Intentional components to keep your goals and plans on track.
Fill a glass jar with 2 inches of hot water. Place a plate on top of the jar and wait for condensation to form. After a few minutes, place ice cubes on the plate. The combination will cause the condensation to turn into "rain," just like how cool air in the atmosphere causes precipitation.
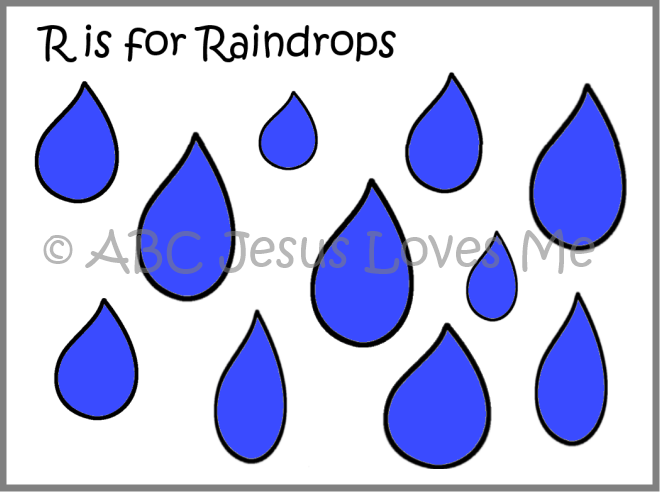
Rain, Rain Go Away
Itsy Bitsy Spider
It's Raining, It's Pouring
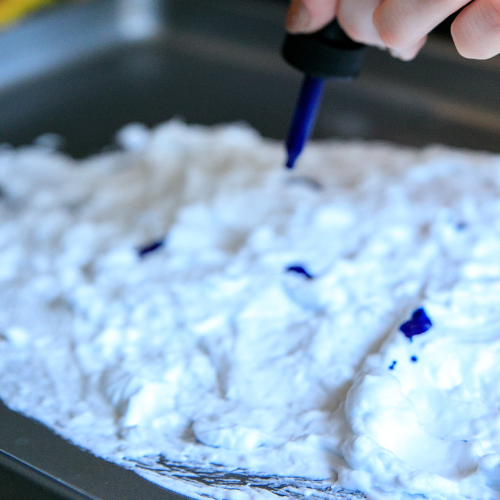
Fill a clear jar with water and add a layer of shaving cream (not gel) on top as the “cloud.” Drop blue food coloring onto the shaving cream and watch as it slowly falls like rain into the water.
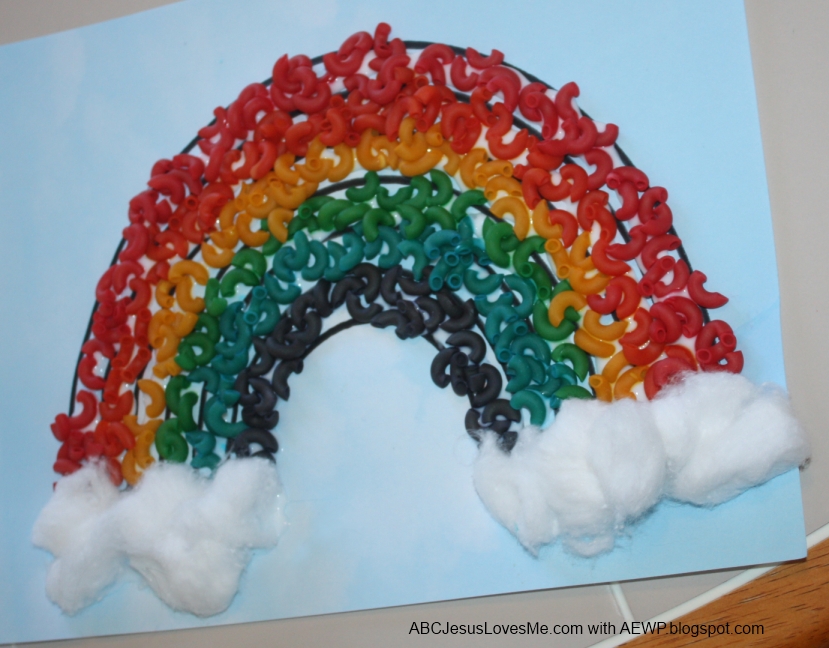
Kids love rainbows for their colors and grandeur. Enjoy making rainbows from the Noah's Ark activities.
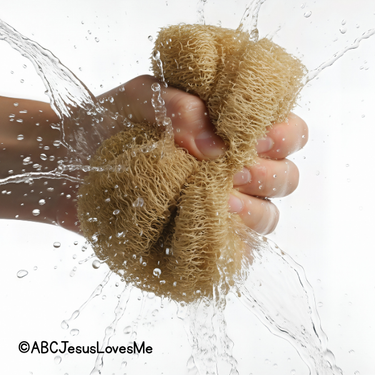
Fill a bucket with water. Give the child a large sponge to fill with water. Let the child squeeze it to make “rain” fall. Do this activity outside, over a sink, or in a bathtub. Sing "It's Raining" song. This is a wonderful fine motor activity to build muscle strength.

Give the child different items (pots, lids, plastic containers) and tap gently to make “rain sounds.” Talk about how rain can sound light or heavy.
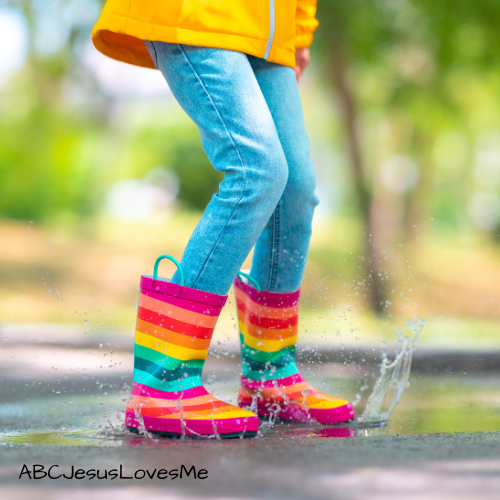
After a rainstorm, let the child jump in puddles with boots. Talk about how rain makes puddles.
Choose clothes that can get dirty and be ready for bathtime. Yes, this will make a mess, but the learning and giggles make the experience priceless.
Wind is what we feel when the air around us is moving.
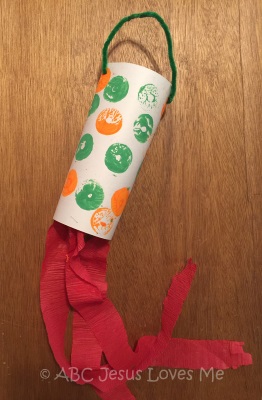
Decorate a piece of cardstock, then roll it into a cone shape and staple it closed. Along the bottom edge of the cone, staple different colored streamers. Punch two holes at the top of the cardstock and thread yarn through to create a hanger.
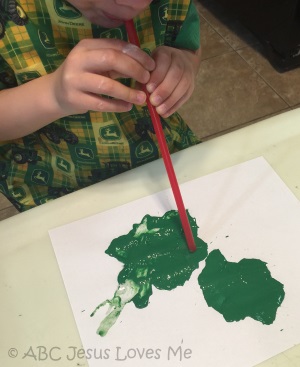
Place dots of paint on a piece of paper. Using a straw, blow the paint around the piece of paper.
Gather items of different weights (e.g., feather, Styrofoam cup, rock, piece of paper, book, pencil). Predict which items will be moved by the wind. Use a hairdryer or fan at various speeds to blow the items and see if your predictions were correct.
Gather a few plastic lids (about 3-4 inches in diameter). Make a small hole at the top of each lid, string a piece of yarn through the hole, and knot it. Coat both sides of the lid with petroleum jelly. On a windy day, hang the lids outside. After a few hours, bring them back inside and see what the wind has carried. Use a magnifying glass to examine what’s stuck to the lids in detail.
Fill a gallon sized ziptop bag with several small squares of tissue paper. Place a straw in the bag so that one end is inside the bag and the other end it outside the bag. Zip the bag shut around the straw. Have the child blow the bag full of air and see what happens to the tissue paper. Discuss what occurred when air was blown into the bag.
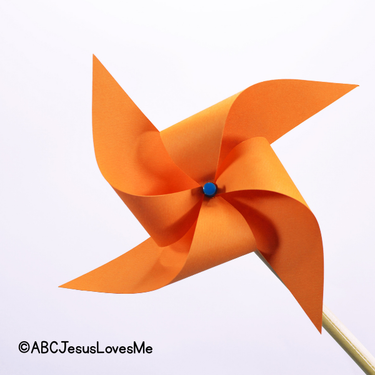
Cut a 6x6" piece of cardstock. Use a ruler to draw two diagonal lines from corner to corner to find the exact center of your square.
Cut along each diagonal line, stopping about 1 inch from the center. Do not cut all the way.
Fold every other point toward the center. Do not crease the paper; keep the curves so they can "catch" the wind.
Secure the center with a pushpin or brad through all the gathered points and the center of the paper.
To create a handle, push the end of the pin or brad into the side of a straw or the eraser of a pencil. Leave a tiny bit of space between the paper and the handle so the pinwheel can spin easily.
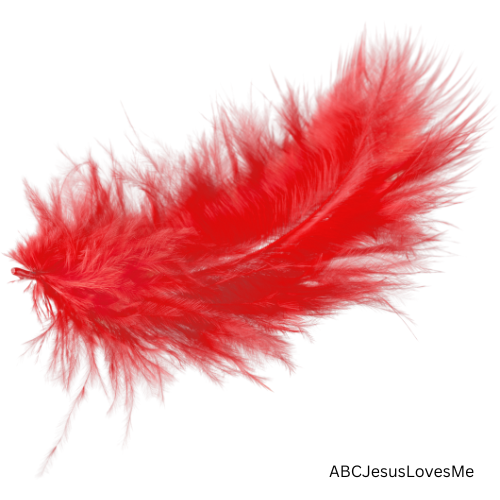
Place a feather or cotton ball on a table and let the child blow it across the surface to act like wind.
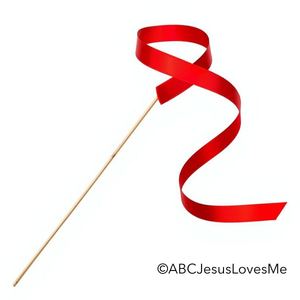
Tie ribbons or crepe paper streamers to a stick and let the child run outside to see how the wind moves them.
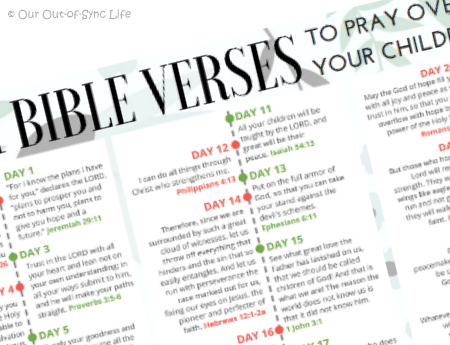
Cover your children, grandchildren, or students in prayer with this 31-day calendar of powerful Bible verses. Each day focuses on themes like wisdom, courage, love, and godly character, praying for spiritual guidance and strength for the next generation.
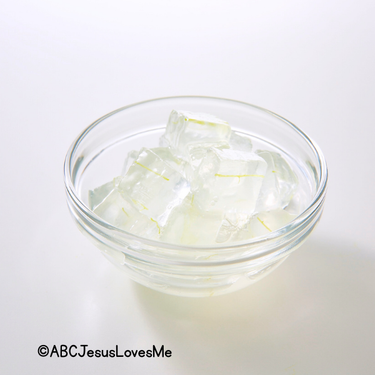
Fill a large bowl with cold water and add several dozen ice cubes. Place an empty bowl beside it and cut a 12-inch piece of string or yarn.
Invite the child to “fish” for ice cubes using the string and try to lift one out. After the child realizes it doesn’t work, explain that the child is right—the string alone cannot pick up the ice cube. Lay the string across an ice cube and sprinkle a little salt on top. Wait a short time for the salt to melt the ice and the water to refreeze around the string (it helps to practice beforehand to learn the timing). Then gently lift the string to pick up the ice cube.
Explain that we are like the string and the ice cubes are like Heaven. No matter how hard we try, because all have sinned, we cannot reach Heaven on our own. We cannot get to Heaven by what we do—we need Jesus. Jesus is like the salt that takes away our sin, and when we ask Him into our life, He makes a way for us to be with Him. When finished, allow the child to “fish” the ice cubes out of the bowl for fun.
Pour packing peanuts into a large tub. Play in the “snow” using buckets, shovels, or toy tractors. Hide small objects in the peanuts to correspond with the Bible story of Blind Bartimaeus. Blindfold the child and have him find and describe the items found.
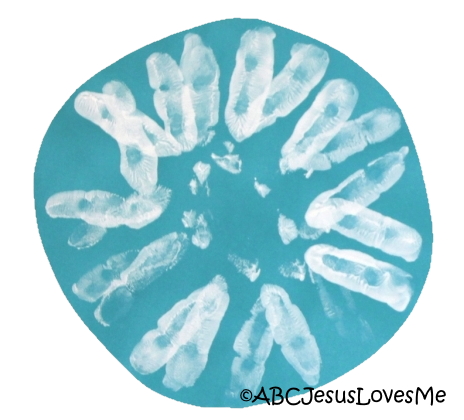
Paint only the index finger of the child’s hand. Instruct the child to leave her hand spread. On colored paper, create a circle of lines and then go back over the lines in an “x” formation.
Give the child two paper plates, one for each foot. Step on the plates and pretend to ice skate across the room. Advise the child to keep her feet on the plates and glide around the room. Caution: Depending on the flooring, you may need the hold the child's hands.
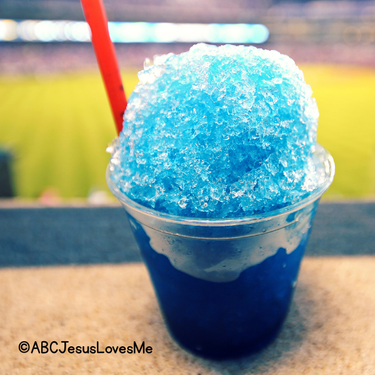
Finely chop ice cubes in a blender to create snow. To make snow cone syrup, combine 2 cups of sugar with 1 cup of water in a saucepan. Bring to a boil for 1 minute, then remove from heat and stir in 2 packets of unsweetened powdered drink mix (such as Kool-Aid). Allow the syrup to cool before pouring it over cups of shaved ice.
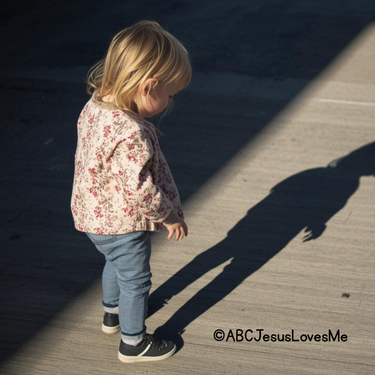
Take the child outside on a sunny day and trace the child’s shadow with sidewalk chalk. Come back later and trace it again to see how the sun’s position changes the shadow.
Place one toy in the sun and one in the shade. After a few minutes, let the child touch both and talk about how the sun makes things warm. (Assure that the item has not gotten so hot as to burn the child.)
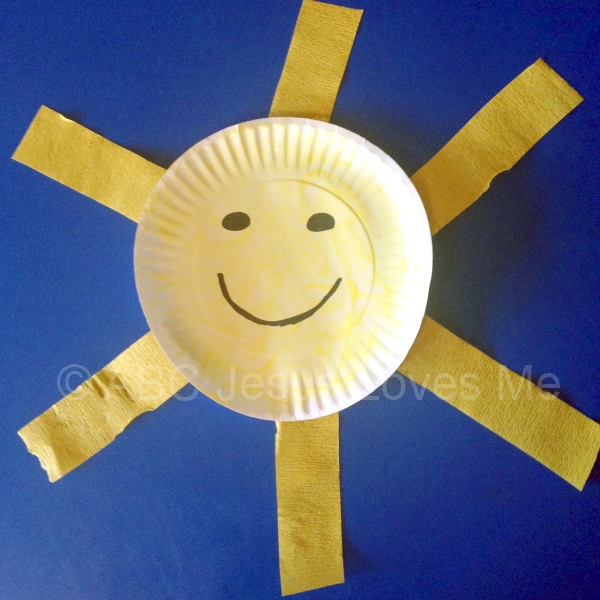
Cut a large circle from yellow paper and glue strips of paper around it for rays. Talk about how the sun shines light and warmth on the earth.
Other options include painting a paper plate yellow, using a yellow balloon, and taping on yellow streamers.
Place an ice cube on a plate outside in the sun and another inside or in the shade. Watch which melts faster and discuss how the sun provides heat.
Take a short walk and ask the child to point out things the sun helps—flowers growing, people wearing sunglasses, or shadows on the ground.
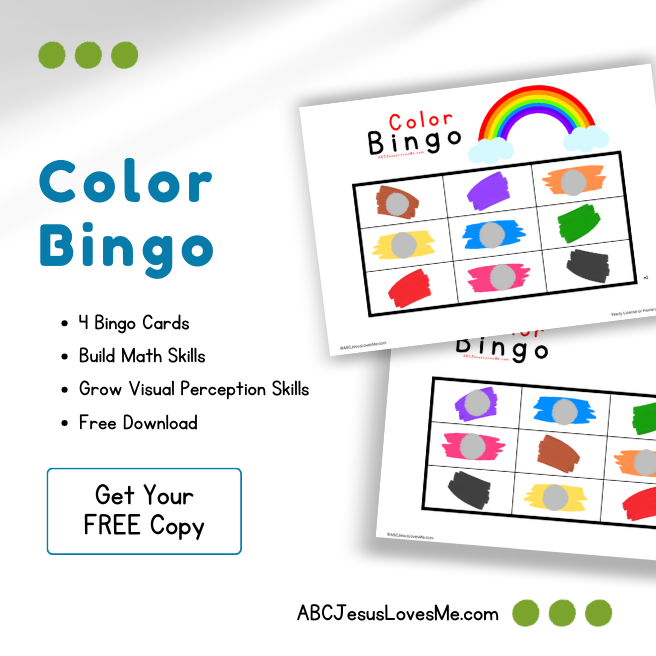
Turn learning colors into a fun game! Color Bingo helps the child recognize and name common colors through playful matching and listening. Click the link below to download the free cards and start playing together.

All About Weather: A First Weather Book for Kids by Huda Harajli is a wonderful introduction to the world of weather for young children. This engaging book explains different types of weather, from sunny days to thunderstorms, in a simple and easy-to-understand way. With fun illustrations and facts, children will enjoy learning about the weather they see every day and how it changes with the seasons.
Note: The text states that the sun 4.5 billion years old. This is a wonderful oportunity to discuss how some people don't believe that God created the world.

Cloudy with a Chance of Meatballs by Judi Barrett is a whimsical story set in the town of Chewandswallow, where food falls from the sky like weather. The townspeople experience a variety of unusual weather patterns, including spaghetti storms and hamburgers raining down, leading to fun and chaotic situations. This imaginative tale is a playful exploration of creativity and problem-solving, with a lighthearted approach to the importance of managing resources.

Written by Aki, Weather Girls follows 12 girls as they travel through the seasons. They dive into the lives, watch a rainbow, and hike a winter mountain.

Worm Weather by Jean Taff is a fun rhyming book about the explorations of a rainy day.

A Wonderful World of Weather by Kay Barnham is a detailed picture book explain weather and the different aspects of it. Because of its detail, I suggest this book for late preschool and early elementary.

Little Wonders Weather by Rose Nestling is a precious interactive book about weather. The book includes flaps, wheels, and tabs to teach a child about weather while building fine motor skills.


