
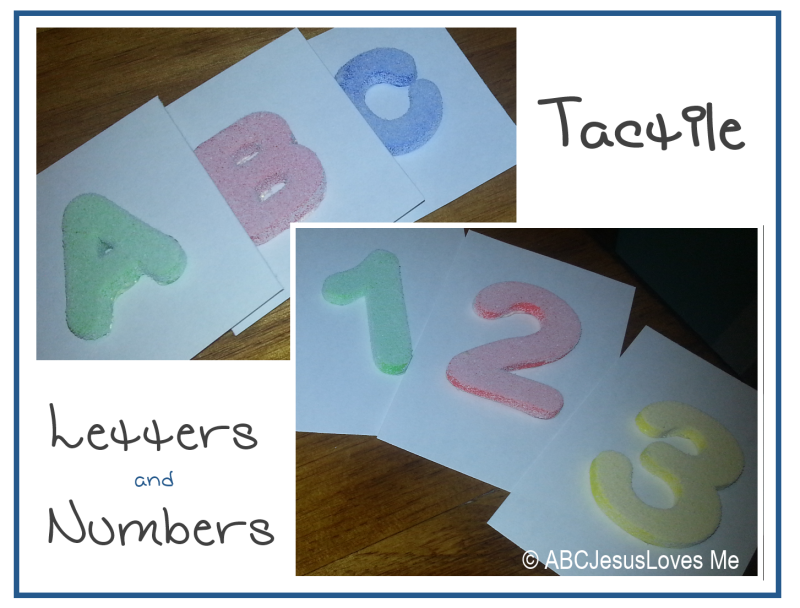
Tactile letters and numbers (also called sandpaper or textured cards) play an important role in the 3 Year Curriculum. Since many 3-year-olds are still developing their fine and gross motor skills for handwriting, the curriculum focuses on tracing letters and numbers with their index finger. Adding textures like sand, glitter glue, yarn, or other materials provides an extra sensory experience that enhances the learning method: I Do It, We Do It, You Do It. Below are several options to purchase or create these tactile sets, as well as fun counting cards.
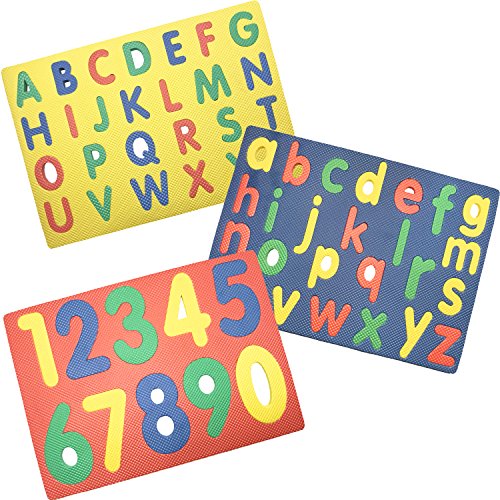
Instead of making your own tactile sets, purchase using the following options.
Unfortunately, some cards and puzzles may feature incorrectly-formed letters (e.g., the "q" may lack the backward hook). Be sure to check the letter formations before purchasing.
The following ideas offer simple ways to create tactile letters and numbers for children to trace with their fingers. Keep in mind that mastering finger tracing of a letter or number should be achieved before a child moves on to writing it with a pencil.
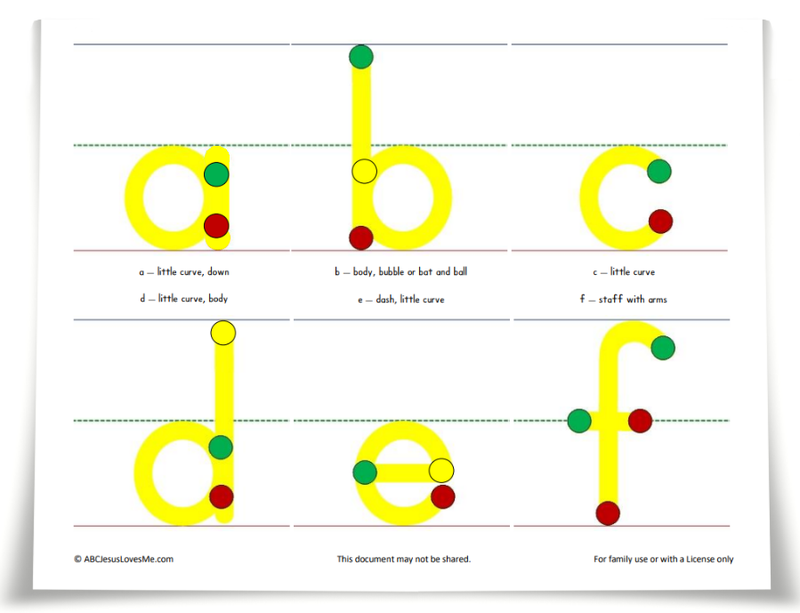
The Lowercase, Uppercase, and Numbers Worksheets can easily be turned into tactile letters and numbers by applying glitter glue to the yellow lines. Once dry, cut the letters or numbers into individual rectangles.
The bonus is that these worksheets already include the Letter Chants, Number Rhymes, and helpful green (start) and red (stop) dots.
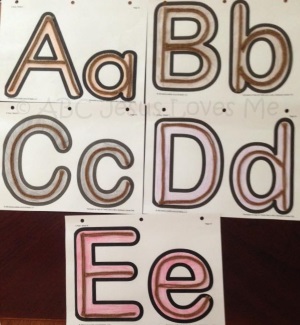
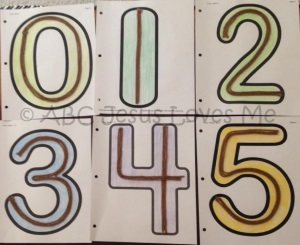
Tiffany shared a fantastic idea on the ABCJesusLovesMe Facebook Group: gluing yarn onto the Letter and Number Posters to create large tactile letter and number posters.
This activity can be incorporated into the child's weekly Letter or Number routine. Be sure to draw the green and red dots, along with wide yellow lines, before adding the yarn to make it easier for the child to learn the proper formation.
Letter and Number Posters are part of the 3 Year Curriculum and can be found in the 3 Year Workbook or Handwriting Curriculum.
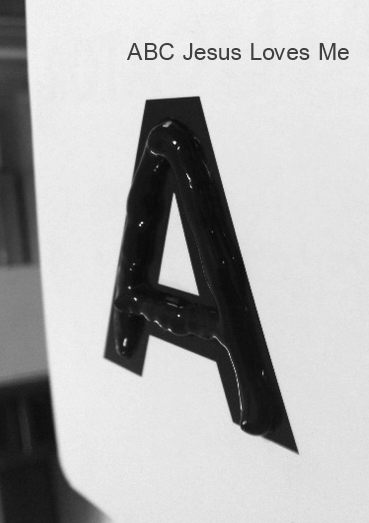
1. Purchase a set of letter and number flashcards. Be sure that the letters and numbers are corrected formed.
2. Using puffy paint, paint over the flashcard. Purposely do not smooth out the paint. The texture helps the child feel the formation better.

Ideal for home or preschool use, the ABCJesusLovesMe 3 Year Curriculum is designed to build a strong foundation for a child’s learning. With engaging, hands-on activities, this Curriculum focuses on objectives like pre-reading, math, Bible stories, and social-emotional development, ensuring children are confident and eager to learn.
1. Print the templates below, enlarging if needed.
2. Cut out each letter.
3. Trace each letter on the back of a sheet of fine sandpaper. Remember to trace them back-to-front so they will appear correctly when cut out.
4. Cut out each sandpaper letter neatly. An X-Acto knife is helpful for the inside cutouts.
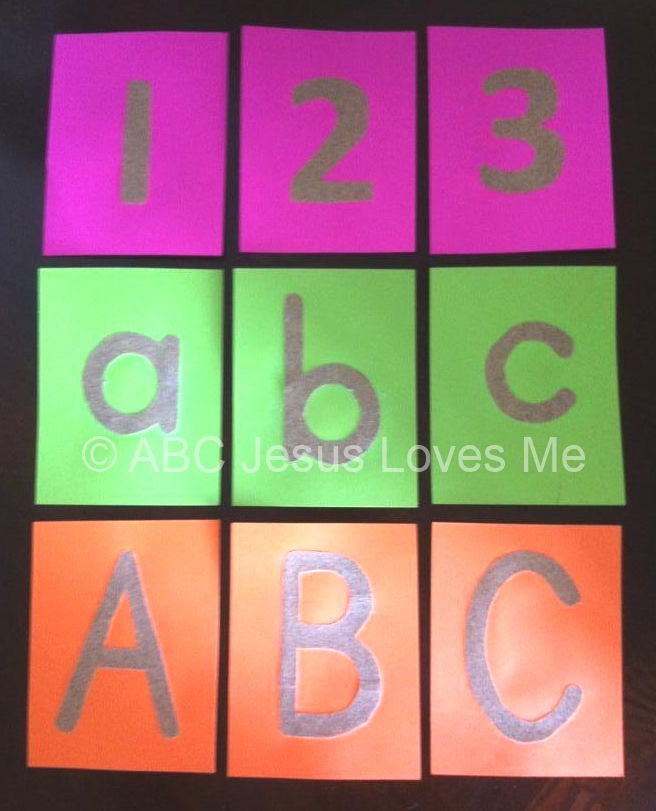
5. Use cardstock paper to cut 4x6 rectangles, enough for each letter and number. Assign three different colors for vowels, consonants, and numbers.
6. Glue the letter or number in the middle of the card with rubber cement.
7. Write the Number Rhyme or Letter Formation Chant (included in the Preschool Curriculum) on the back of each card, so you can recite the rhymes as the child traces the shape.
Tip from Heather: Go to the local scrapbooking or school supply store with a couple of sheets of sandpaper and used their die-cutting system to cut out all the uppercase and lowercase letters as well as the numbers from 1-25!
1. Print the templates below, enlarging if needed.
2. Cut out each letter and glue on quartered cardstock paper or use 3x5" index cards.
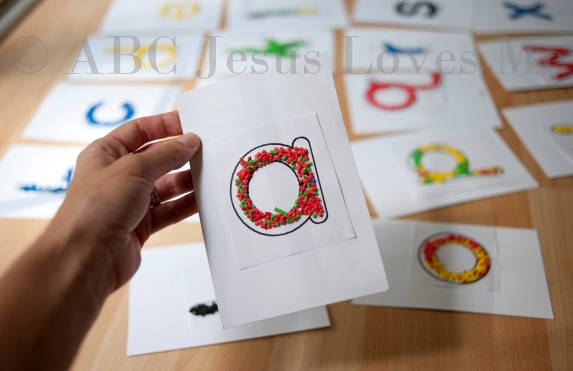
3. Drizzle or paint glue on the bubble letter and number. Sprinkle sand or glitter on the glue, shaking off the excess.
7. Write the Number Rhyme or Letter Formation Chant (included in the Preschool Curriculum) on the back of each card, so you can recite the rhymes as the child traces the shape.
1. Cut cardstock paper into four pieces or .
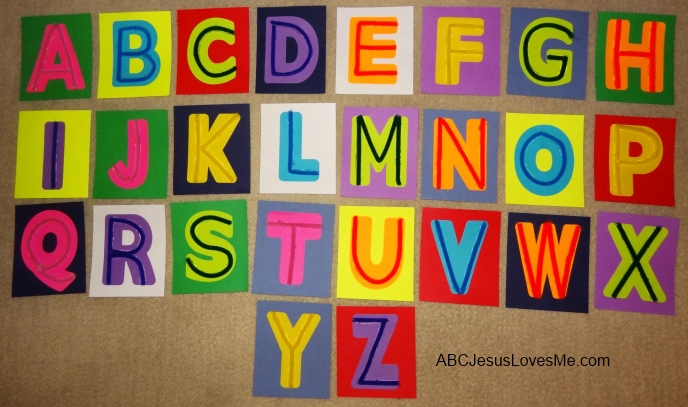
2. Glue felt, chipboard (a scrapbooking item), or Burlap letters and numbers onto each piece.
3. Write the Number Rhyme or Letter Formation Chant (included in the Preschool Curriculum) on the back of each card, so you can recite the rhymes as the child traces the shape.
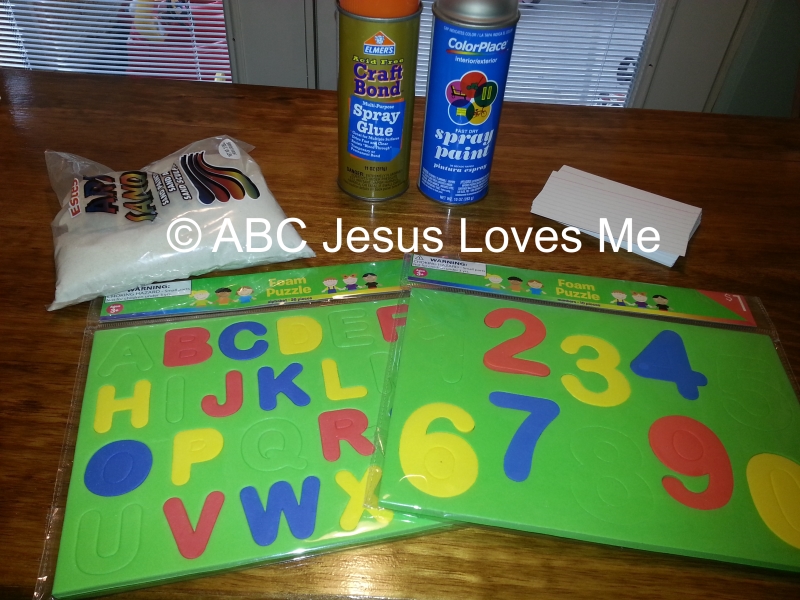
Supplies:
Directions:
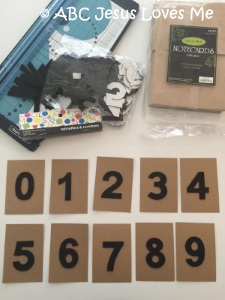
1. Remove all letters and numbers from the foam puzzle.
2. Place the puzzle pieces on a piece of cardboard and lightly spray with adhesive, working with a few pieces at a time. Immediately sprinkle sand over the adhesive and let dry. If you'd like, spray paint each letter and number.
3. Once dry, use liquid nail glue to attach the sand-covered pieces to index cards.
4. Write the Number Rhyme or Letter Formation Chant (included in the Preschool Curriculum) on the back of each card, so you can recite the rhymes as the child traces the shape.
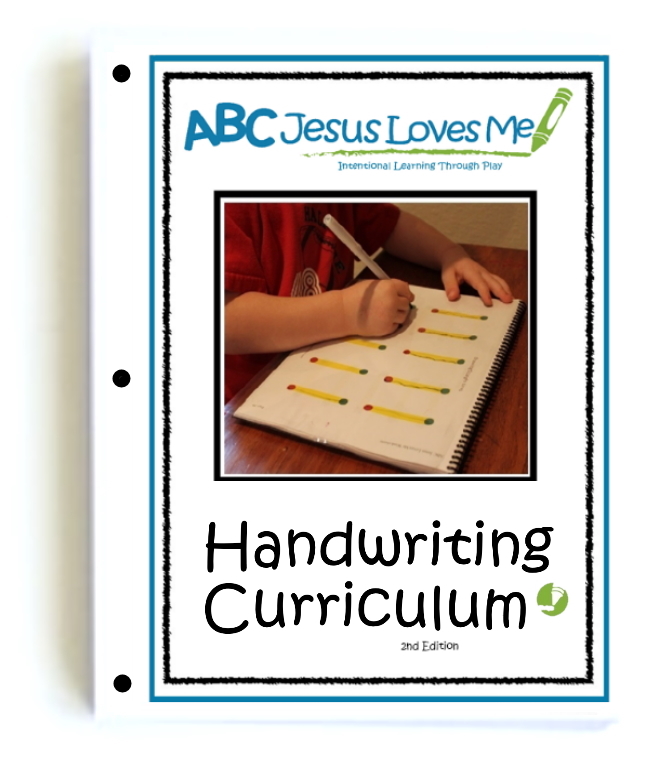
Turn tears into smiles with the unique ABCJesusLovesMe Handwriting Curriculum. The key to successful penmanship is in the process - a process where each level is a building block for the next. Ideal for both classroom or home use, prepare the child for a lifetime of beautiful penmanship.

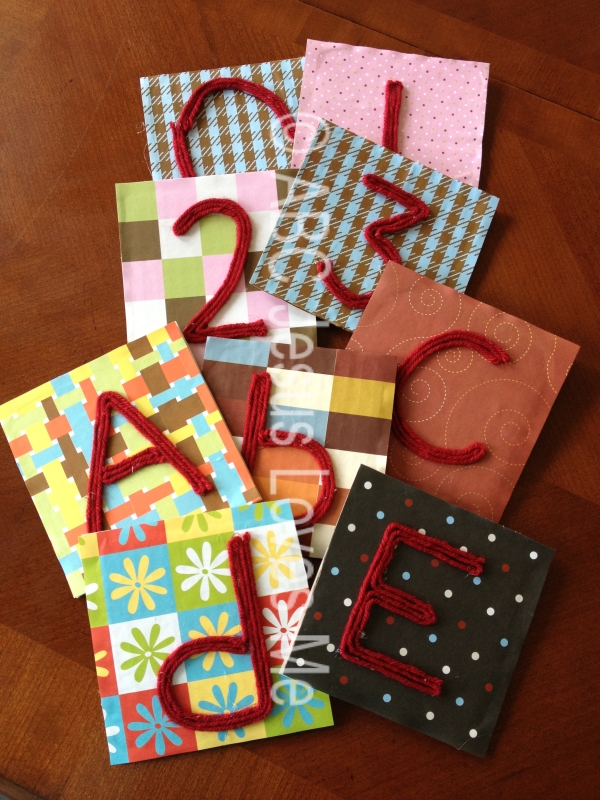
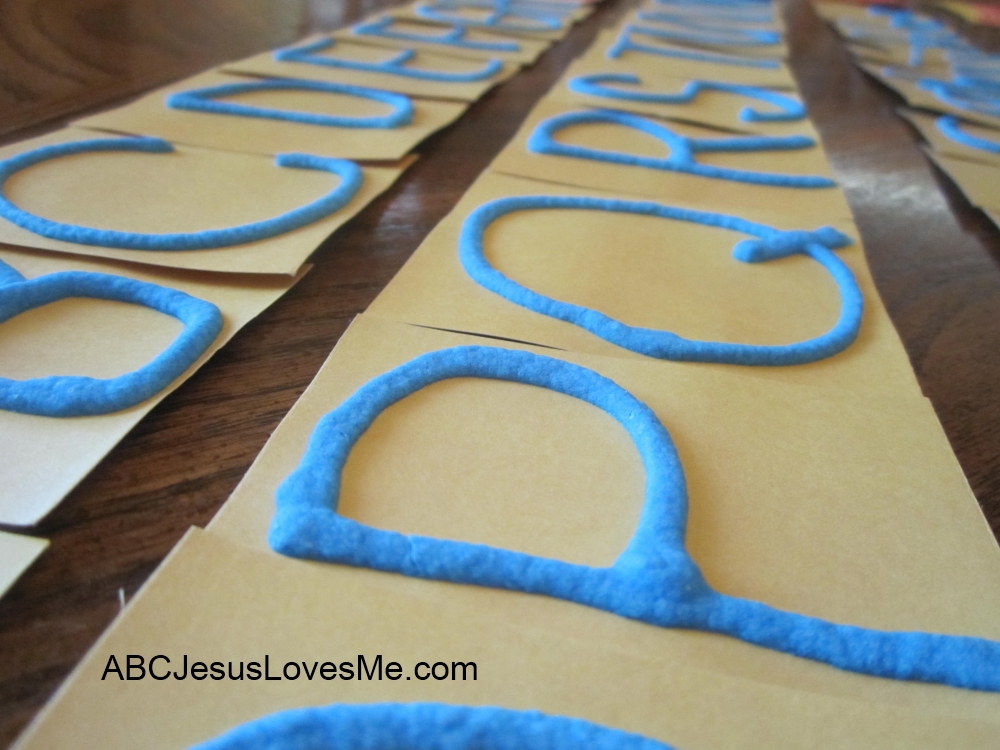
1. Cut flash-card-sized pieces from cardboard boxes.
2. Optionally, cover the cardboard with scrapbooking paper using glue.
3. Write each letter or number on the paper with a pencil.
4. Hot glue yarn over the pencil marks, winding it around several times to create thicker letters and numbers.
1. Cut cereal boxes into 5"x5" squares.
2. Cut scrapbooking paper into quarters. Glue one quarter onto each square with Elmer’s glue.
3. Write each letter or number on the paper with a pencil.
4. Use a hot glue gun to attach yarn to the letters, wrapping it around 3-4 times per letter to create large, easy-to-trace shapes.
1. Print the templates below, enlarging if needed.
2. Cut out each letter and glue on quartered cardstock paper or use 3x5" index cards.
3. Bend and cut pipe cleaners to glue on the letter or number.
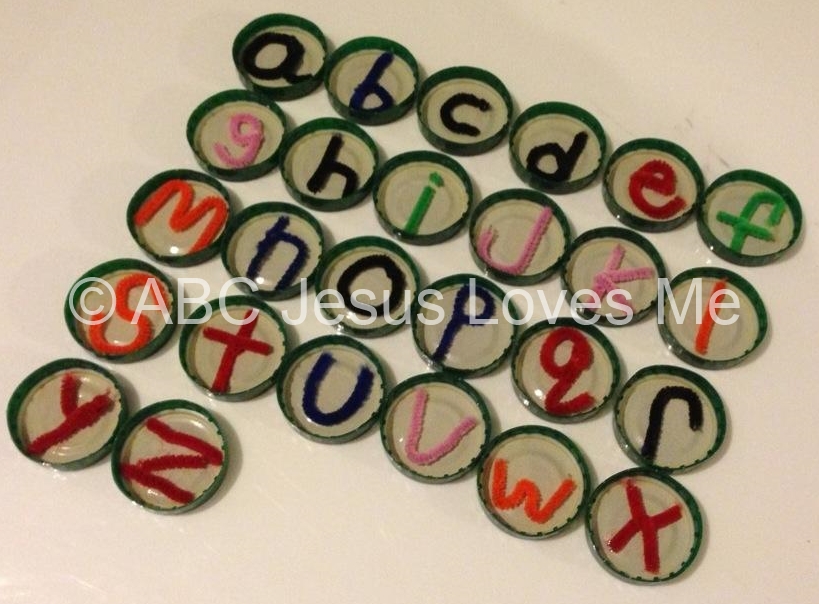
1. Collect lids from bottles, jars, or frozen juice containers.
2. (Optional) Write each letter or number on the lid.
3. Bend and cut pipe cleaners into the shape of each letter and number.
4. Glue the pipecleaners with a hot glue gun on each lid.

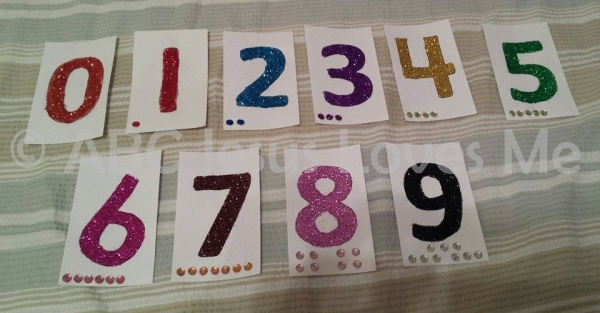
1. Print the templates below, enlarging if needed.
2. Use the letter and numbers as templates to trace each on glitter paper. Cut out and glue to cardboard, 3x5" index cards, or cardstock paper.
3. Paint a thin layer of modge podge or clear glue on top of the glitter to keep it from flaking off; just enough to cover it but still have the texture come through.
1. Mix equal parts flour, salt, and water (approx. 1/2 cup of each) with some food coloring.
2. Place in a condiment squirt container or in a ziptop bag with the corner snipped off.
3. Pipe the letters and number onto cut cardboard, 3x5" index cards, or quartered cardstock paper.
4. Let dry overnight.
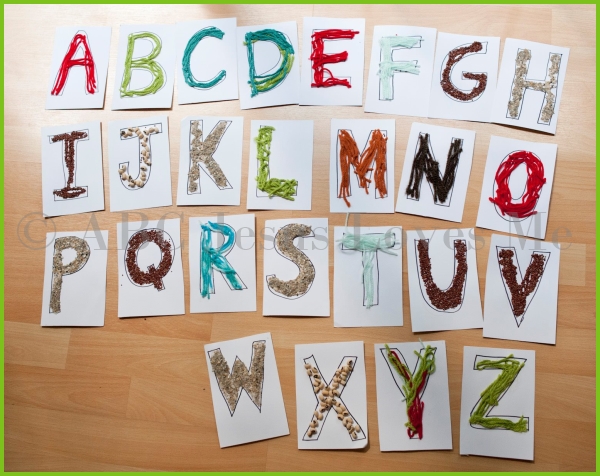
1. Print the templates below, enlarging if needed.
2. Cut out each letter. Glue onto cardstock or cardboard.
3. Drizzle or paint glue on the bubble letter. Sprinkle rice, beans, sand, or quinoa on the letter or number. Shake off the excess. Let dry.
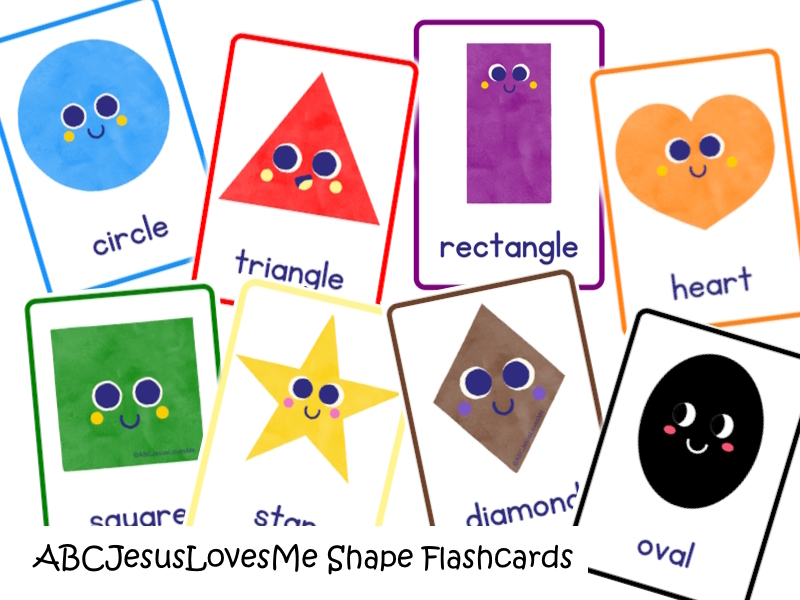
Help your little ones master shapes with our vibrant and fun shape flashcards—perfect for preschoolers! These engaging cards make learning interactive and enjoyable. Click the link below to download your free set today and watch your child's shape recognition skills grow!
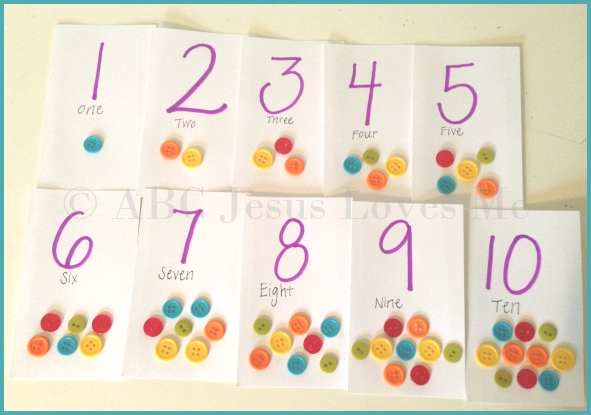
1. Cut cardstock paper into four equal pieces or use 3x5" index cards.
2. Write the numbers by hand or use the Bubble Number Templates (adjust the size if needed) to create a number on each card.
3. Attach the corresponding number of buttons to each card, and have the child touch each button as they count for 1:1 correspondence.


